

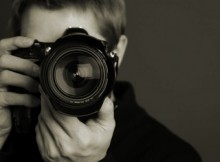
whether you are an amateur or professional photographer you might be always take time to edit your photo editing process. Without any starting to end point of the process it will get us kicked to leave the process or take more time to process one single image.
Here I have given my ideal workflow which is suits to you too. I suggest you always take your photos with RAW format which is very convenient for photo editing workflow.
DSLR Photography Photo Editing Workflow:
1. Selection
While we have a multiple image with same correct exposure and focus points. But its time to select a better image from the others.
For Selection I always follows some important criterias
- Correct Exposure
- Focus Point
- Image Sharp Quality (At Full Resolution)
- Perception (to avoid Crop)
So finally we selected one better image with all the above criterias has been passed.
2. Crop (if needed only)
The Step 2 is Crop. In Photo Editing we all know this. We can give any perception value with the Crop.
But we need to know Crop is unnecessary and should be avoid in your workflow! – Yes it should be avoidable and most of the Pro Photographers don’t do crop.
Good value photograph should be Zoomed or get Closed while shooting until the desired perception achieved.
But most of the times we can’t get it done. So I suggest you to use ‘Crop’ for very very little area which is not necessary for the main object in the photo.
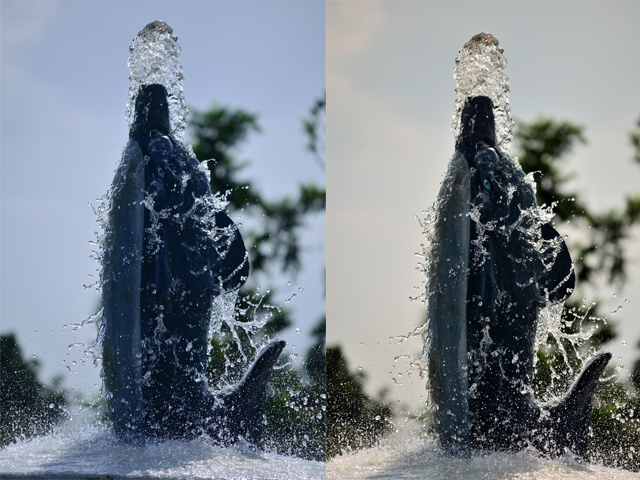
3. Adjust White Balance
Most of the times We got our White Balance perfectly. But Fewer times it’s not. I recommend you to shoot photos in RAW format which is very easily to change the White Balance in any basic RAW Editing Software.
4. Adjust Highlighting
Highlights is most important factor to change the photo’s mood especially in high light situations.
It will get correctly with Photoshop or any RAW Editing Tools easily with just some slider moves.
5. Adjust Shadows
In Photography ISO plays a vital role to get accurate exposure and its define which areas to be visible or not. Most of the photographers doing the same mistake to keep their ISO level always low (like 50/100) . Although higher level of ISO spoil your photo with noice, some situations need something more iso for better visible areas. If you using correct ISO level the Shadows part will be little until it needs more time to solve the issue.
6. Adjust Levels & Curves (in Photoshop)
similar to Shadows Levels & Curves is so important in Photo Editing. I using Photoshop CS6 for Level & Curves correction. The both tools are used to correct the Shadows, highlights and Lighting in a single way.
7. Final Save (with Different Formats)
Save your image in RAW format correctly (should be your img_copy1) – ORIGINAL
Save it as JPEG for publishing and sharing purposes. (img_copy2) – MASTER COPY ( which is useful to stock photography or any selling purpose)
Save it with low resolution with some water marks in JPEG format (img_copy3) for easy downloading everywhere and for original source protection.
8. Publish
Now this is the time to publish our photo in our portfolio. As a photographer you have some knowledge how to & where to publish your photos.
I given my major photography publishing sites here for some ideas:
Facebook – https://facebook.com/karthikswotphotography
Flickr – https://www.flickr.com/photos/karthikswot/
ViewBug – http://www.viewbug.com/member/karthikswot
National Geography Website – http://yourshot.nationalgeographic.com/profile/848491/
You can also use Instagram, 500px and more.
9. Share
After published your photos in your page or portfolio websites you need to share it simply to the social networks and some mailer lists to get better audience.
You can use Facebook Groups, View Bug Contests, Flickr Groups, etc.,
10. Get Feedbacks
Don’t forgot to get feedback from your audience. Its essential to improve our skill continuously and be available for more challenges
My Best Wishes to your Photo Editing Workflow! and your Photography Success